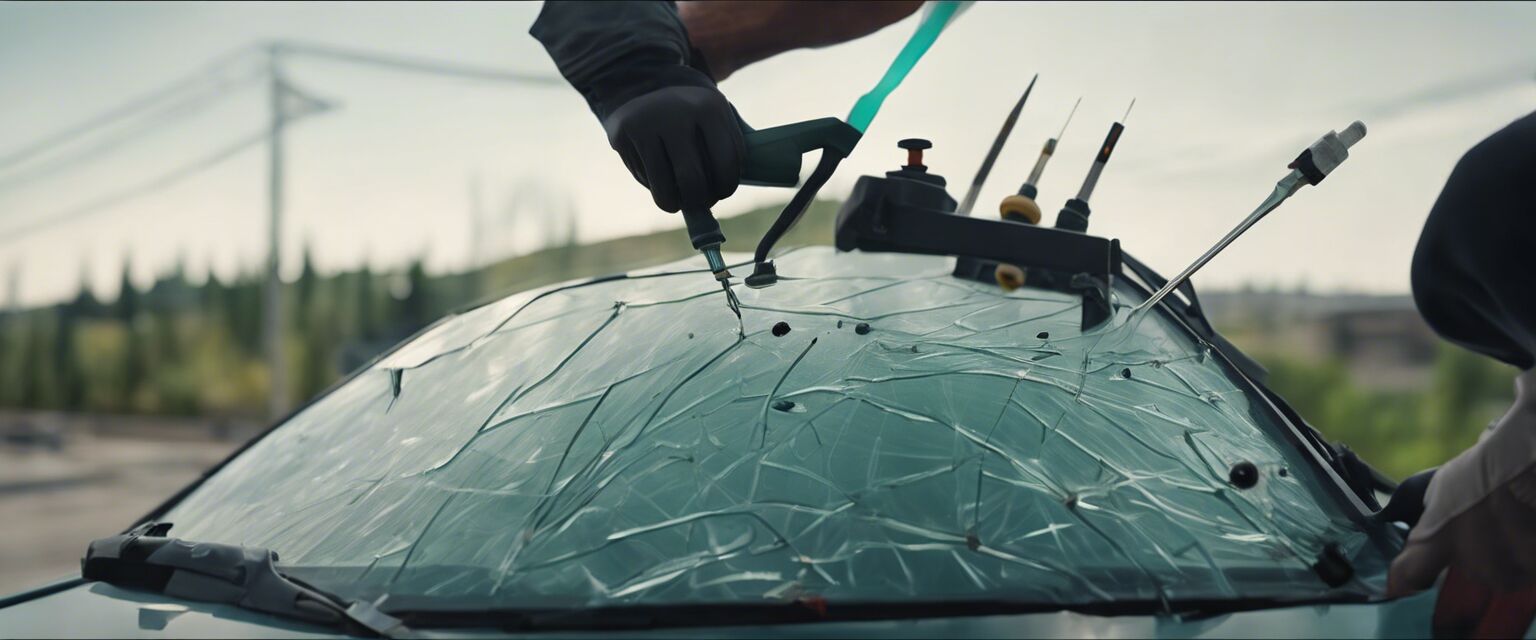
Windshield Repair Techniques
Key Takeaways
- Understanding various windshield repair techniques is essential for effective repairs.
- Different methods cater to different types of damage.
- Choosing the right repair kit can significantly affect the outcome.
- Professional services may be necessary for complex damages.
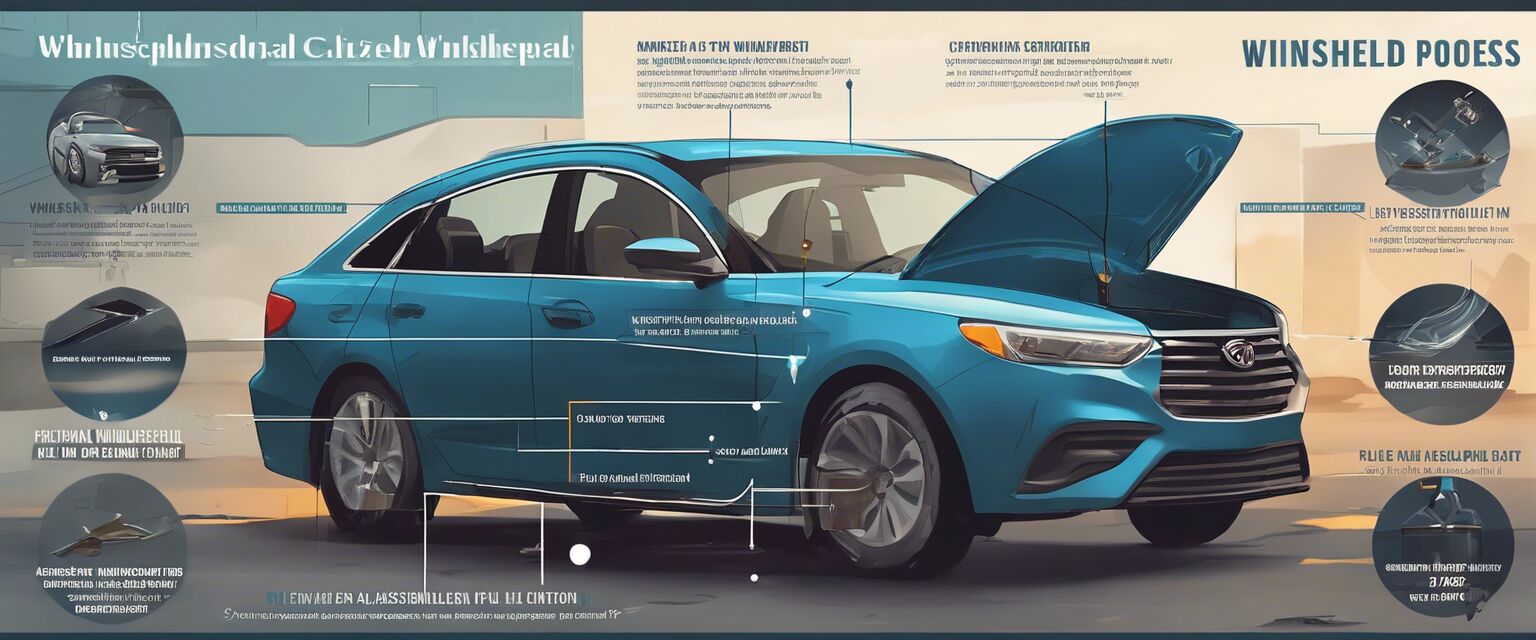
Windshields are crucial for vehicle safety and visibility. When damage occurs, timely repairs are necessary to maintain structural integrity and ensure driver safety. This article provides an overview of various windshield repair techniques, helping you choose the best method for your situation.
Types of Windshield Damage
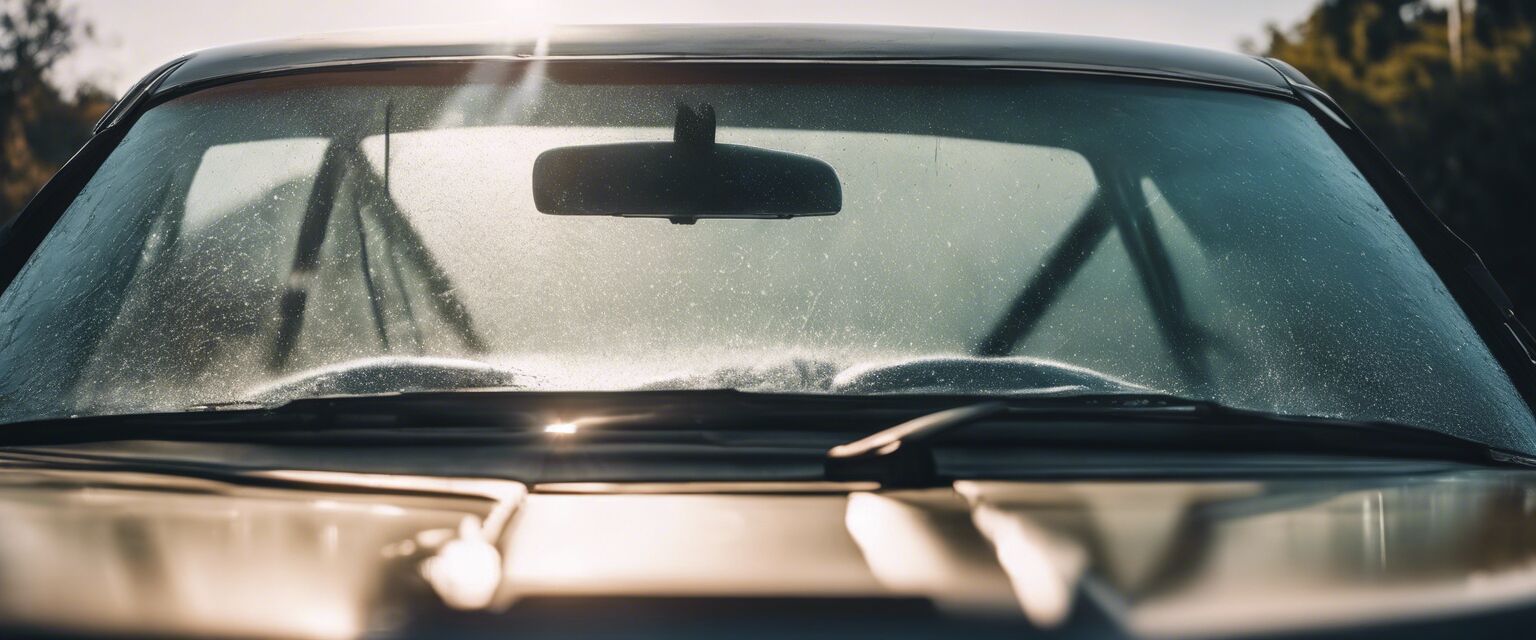
Before diving into repair techniques, it's important to understand the types of damages that can occur:
- Cracks: Linear fractures that can vary in length.
- Chips: Small pieces missing from the glass surface.
- Stars: A combination of cracks radiating from a chip.
- Bullseyes: Circular damage resembling a bullseye.
Comparison of Repair Techniques
| Repair Technique | Best For | Tools Needed | Time Required |
|---|---|---|---|
| DIY Kits | Small chips and cracks | Resin, applicator, UV light | 30-60 minutes |
| Professional Repairs | Severe damage | Specialized tools, resin | 1-2 hours |
| Windshield Replacement | Extensive damage | Replacement glass, adhesives | 2-3 hours |
DIY Windshield Repair Techniques
Many car owners opt for DIY repairs. Here are some common techniques:
1. Using a Repair Kit
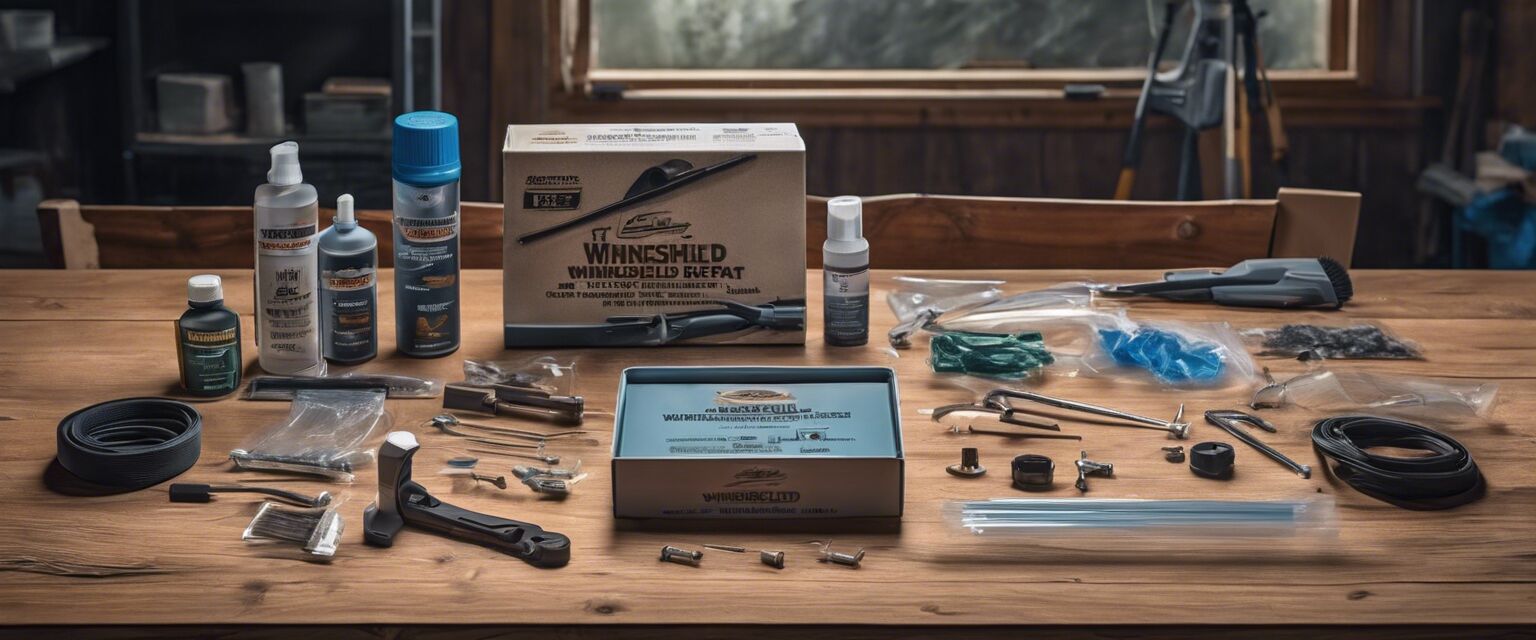
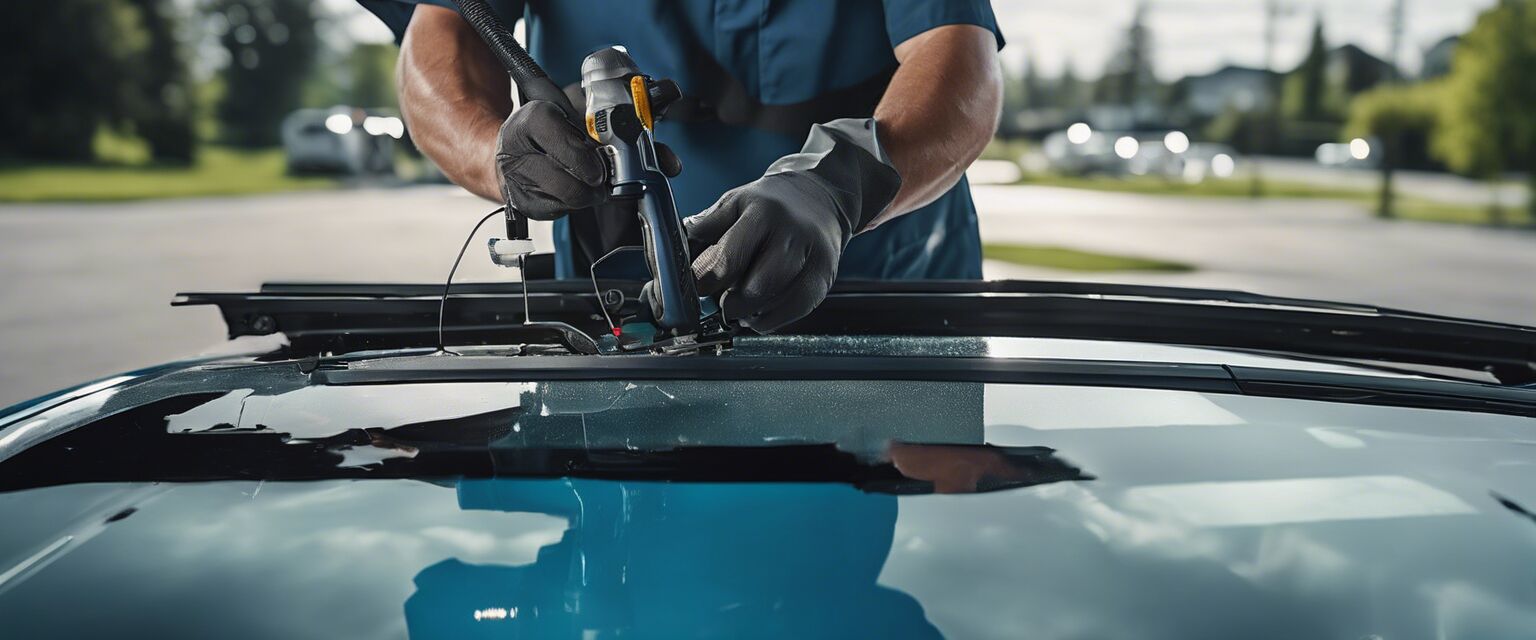
DIY windshield repair kits are available at most automotive stores. These kits typically include resin, an applicator, and instructions. Follow these steps:
- Clean the damaged area with glass cleaner.
- Position the applicator over the chip or crack.
- Inject the resin into the damage.
- Allow the resin to cure under UV light.
- Remove the applicator and clean the area.
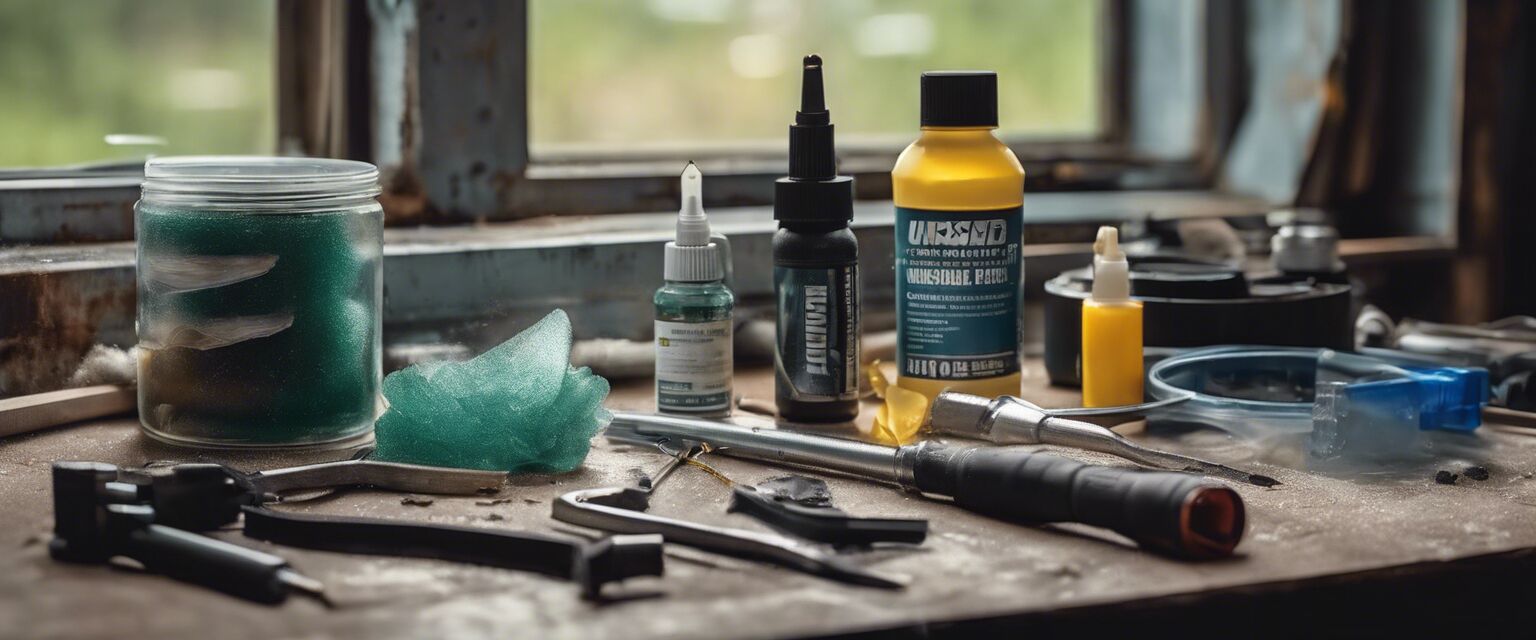
2. The Vacuum Method
This method is ideal for larger cracks. It involves creating a vacuum to draw out air and fill the cracks with resin. Follow these steps:
- Clean the crack and apply a special adhesive.
- Use a vacuum pump to remove air from the crack.
- Inject resin into the crack while maintaining the vacuum.
- Allow it to cure and then polish the surface.
Professional Windshield Repair Services
For severe damage, hiring a professional is often the best option. Professionals have specialized tools and experience to handle complex repairs. Hereâs what to expect:
- Assessment of damage to determine if repair or replacement is needed.
- Use of high-quality resin and specialized tools for effective repairs.
- Guaranteed results and warranties on work performed.
When to Seek Professional Help
Consider professional services in the following cases:
- The crack is longer than a few inches.
- The damage is located near the edges of the windshield.
- Multiple cracks or chips are present.

Choosing the Right Windshield Repair Kit
When selecting a DIY repair kit, consider the following factors:
- Type of damage: Ensure the kit is suitable for the specific type of damage.
- Ease of use: Look for kits with clear instructions.
- Reviews: Check customer feedback for effectiveness.
Tips for Beginners
- Always work in a clean and dry environment.
- Follow the instructions carefully for best results.
- Practice patienceâallow enough time for the resin to cure.
- Consider watching tutorial videos for visual guidance.
Conclusion
Windshield repair is a vital skill that can save you time and money. Whether you choose to tackle minor repairs yourself or seek professional help for severe damage, understanding the available techniques is essential for maintaining the integrity of your vehicle. Always prioritize safety and follow best practices for repairs.
Pros
- Cost-effective solutions for minor damages
- Improved visibility and safety
- Quick and easy repairs with DIY kits
Cons
- DIY repairs may not be suitable for severe damage
- Improper techniques can lead to further damage
- Professional repairs can be more expensive
Related Links
- Emergency Repair Solutions
- Insurance and Warranty
- Professional Repair Services
- Windshield Care Products
- Windshield Repair Kits
