DIY Windshield Repair
Key Takeaways
- Identify the type and size of the damage before starting repairs.
- Follow a step-by-step process for effective DIY repair.
- Use high-quality windshield repair kits for best results.
- Know when to call a professional for repairs.
Dealing with a cracked windshield can be stressful, but with the right tools and knowledge, you can perform a DIY windshield repair. This guide will provide you with tips and step-by-step instructions to help you restore your windshield effectively and efficiently.
Understanding Windshield Damage
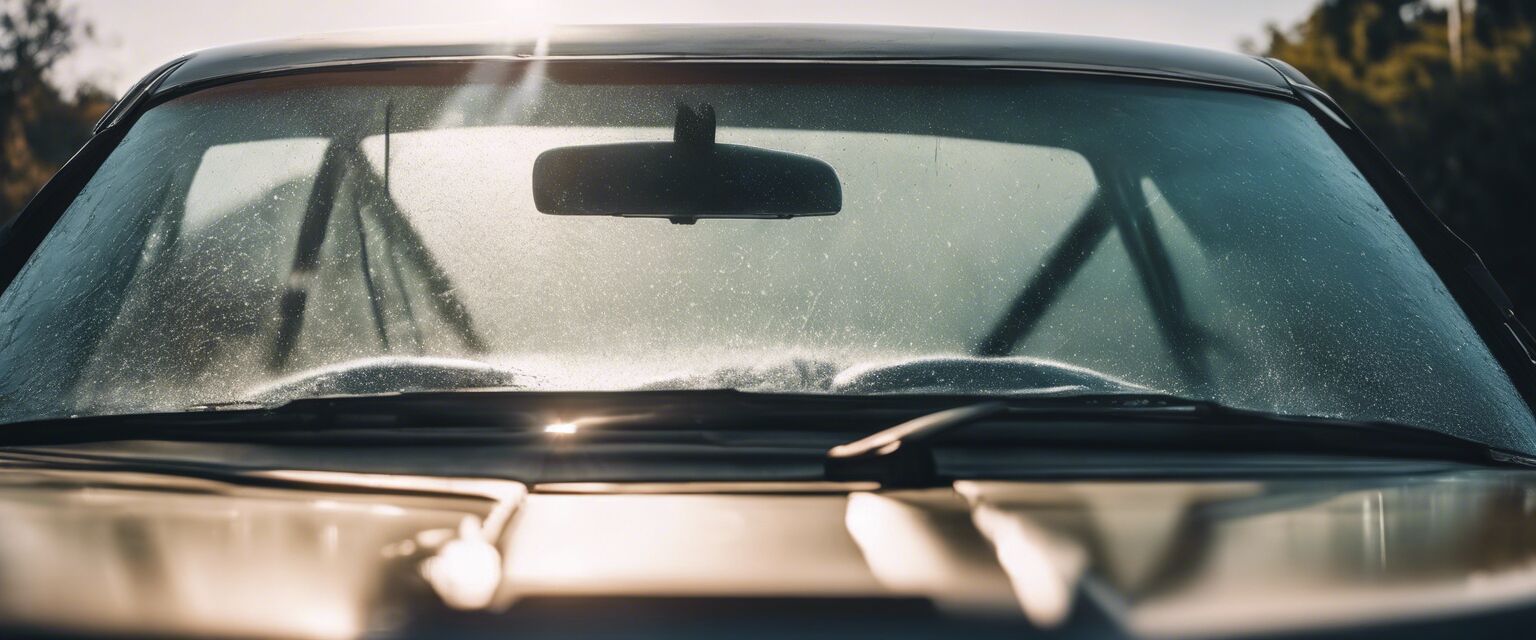
Windshield damage can come in various forms, such as chips, cracks, and scratches. Understanding the type of damage you are dealing with is essential for determining whether you can repair it yourself or if you need to seek professional help.
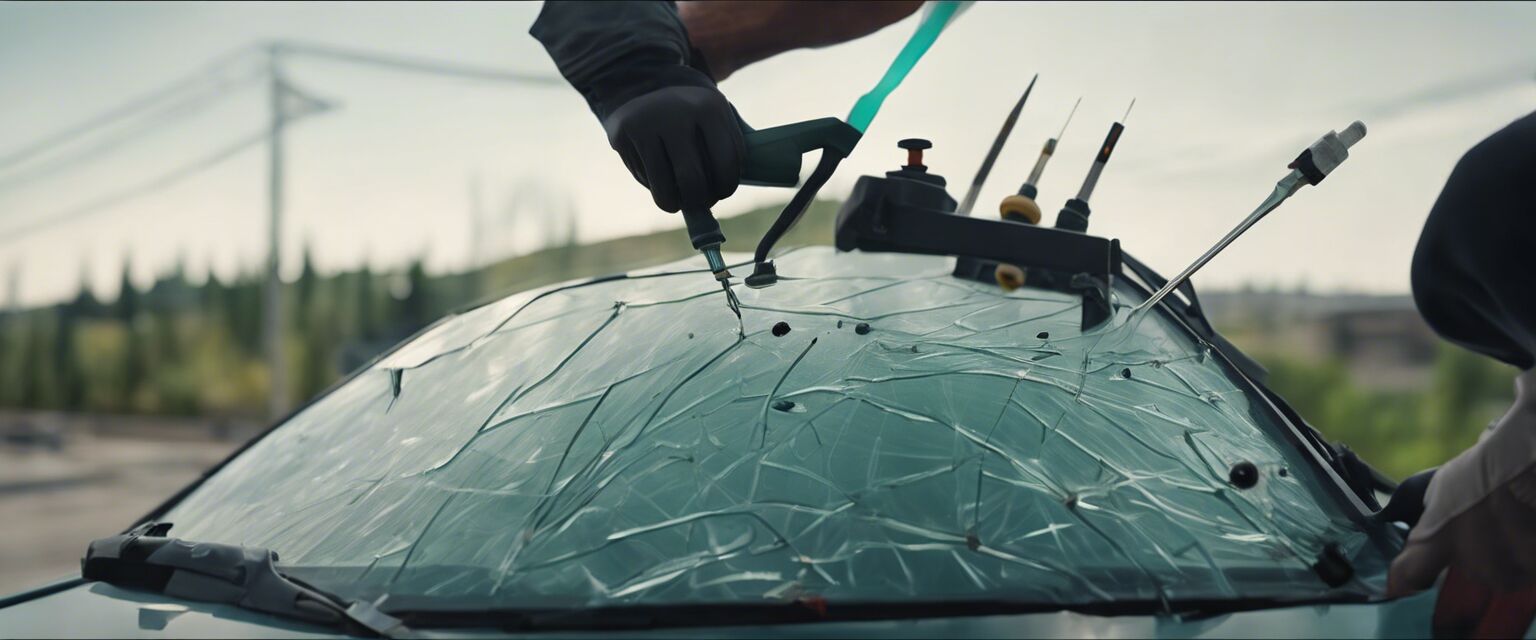
Types of Windshield Damage
| Type of Damage | Description | Repairable? |
|---|---|---|
| Chips | Small dents in the glass surface. | Yes |
| Cracks | Lines that extend from the impact point. | Yes (if smaller than 6 inches) |
| Star Break | Multiple cracks radiating from a central point. | Yes |
| Long Cracks | Cracks longer than 6 inches. | No |
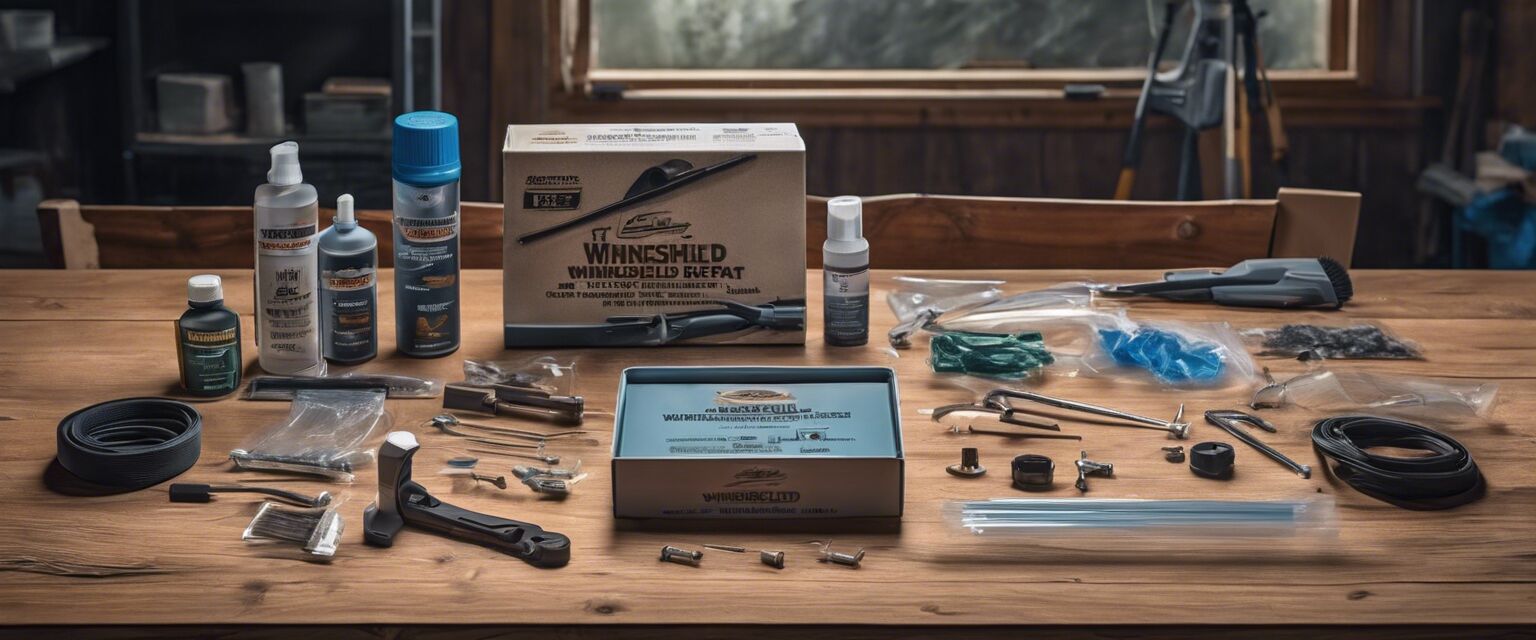
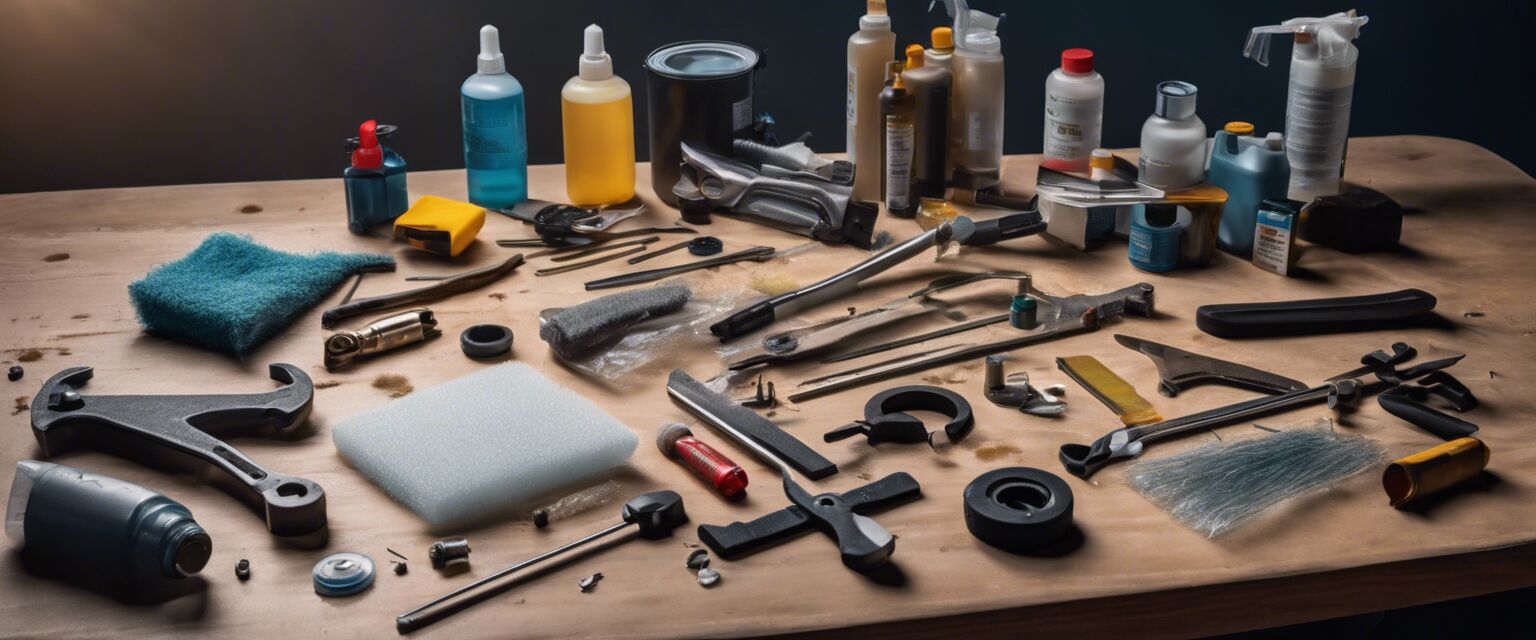
Tools and Materials Needed
Before starting your DIY windshield repair, gather the necessary tools and materials. Hereâs a list of what youâll need:
- Windshield repair kit
- Razor blade
- Lint-free cloth
- Masking tape
- Glass cleaner
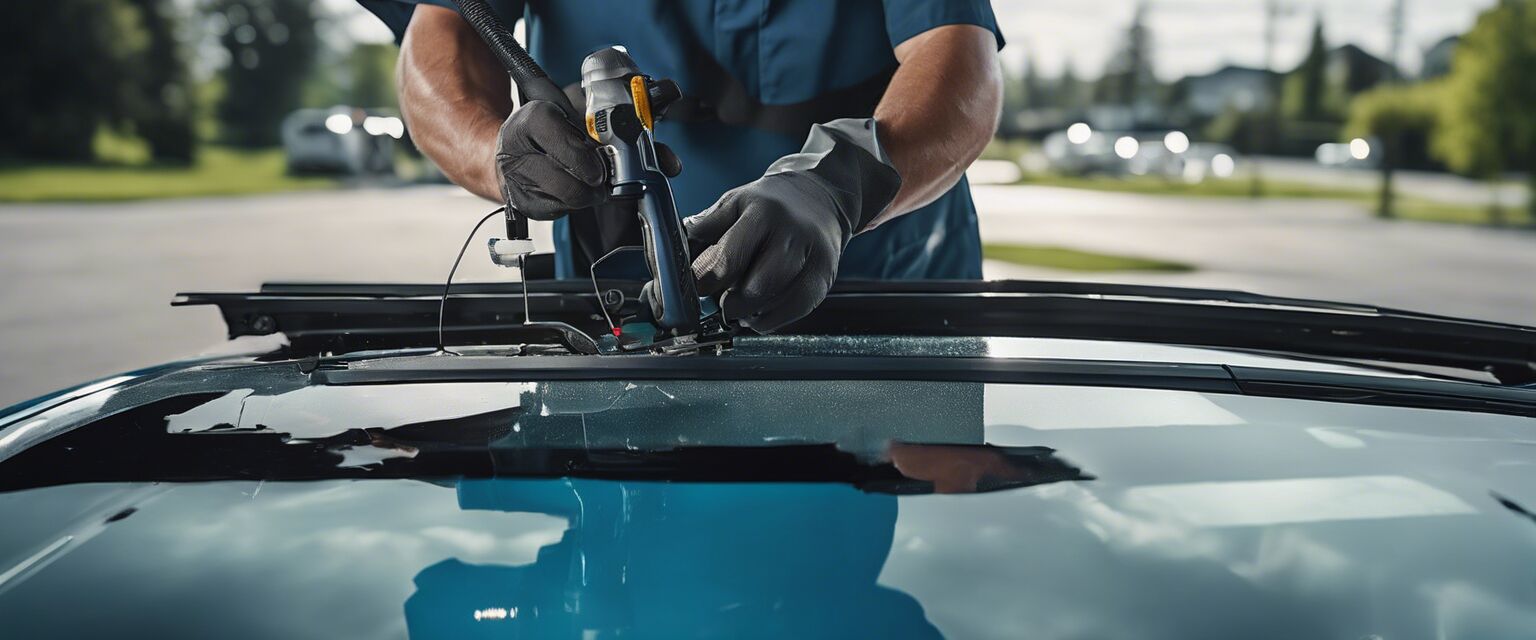
Step-by-Step Instructions for DIY Windshield Repair
Step 1: Assess the Damage
Before you begin, closely inspect the damage. If the crack is longer than 6 inches or if it obstructs the driverâs view, itâs best to consult a professional.
Step 2: Clean the Area
Use glass cleaner and a lint-free cloth to clean the area around the damage. This ensures that dirt and debris do not interfere with the repair process.
Step 3: Prepare the Repair Kit
Follow the instructions provided with your windshield repair kit. Most kits will include a resin, applicator, and suction cup.
Step 4: Apply the Resin
Using the applicator, apply the resin directly into the chip or crack. Make sure to fill it completely but avoid overfilling.
Step 5: Seal the Area
Once the resin is applied, use the suction cup to hold the applicator in place. Allow it to cure as per the manufacturer's instructions.
Step 6: Remove Excess Resin
After the resin has cured, use a razor blade to carefully scrape off any excess resin and smooth the surface.
Step 7: Clean the Windshield
Finally, clean the entire windshield with glass cleaner to remove any residue and restore clarity.

When to Call a Professional
While many minor chips and cracks can be repaired at home, some damage requires the expertise of a professional. If you notice:
- Long cracks or significant damage
- Damage that obstructs the driverâs view
- Multiple cracks in close proximity
In such cases, itâs safer and more effective to contact a professional repair service.
Additional Resources
For more information on windshield care and repair, check out our related articles:
- Emergency Repair Solutions
- Insurance and Warranty
- Professional Repair Services
- Windshield Care Products
- Windshield Repair Kits
Pros
- Cost-effective solution for minor damage.
- Convenient and can be done at home.
- Quick repair process for small chips and cracks.
Cons
- Not all damage can be repaired DIY.
- Improper repair may lead to further damage.
- Time-consuming if unfamiliar with the process.
Tips for Successful DIY Windshield Repair
- Always follow the instructions included with your repair kit.
- Work in a shaded area to prevent the resin from curing too quickly.
- Take your time to ensure thorough cleaning and application.
Conclusion
Performing a DIY windshield repair can save you time and money, especially for minor damages. By following the steps outlined in this guide, you can restore your windshield to a safe and clear condition. Always prioritize safety, and remember when to seek professional help.